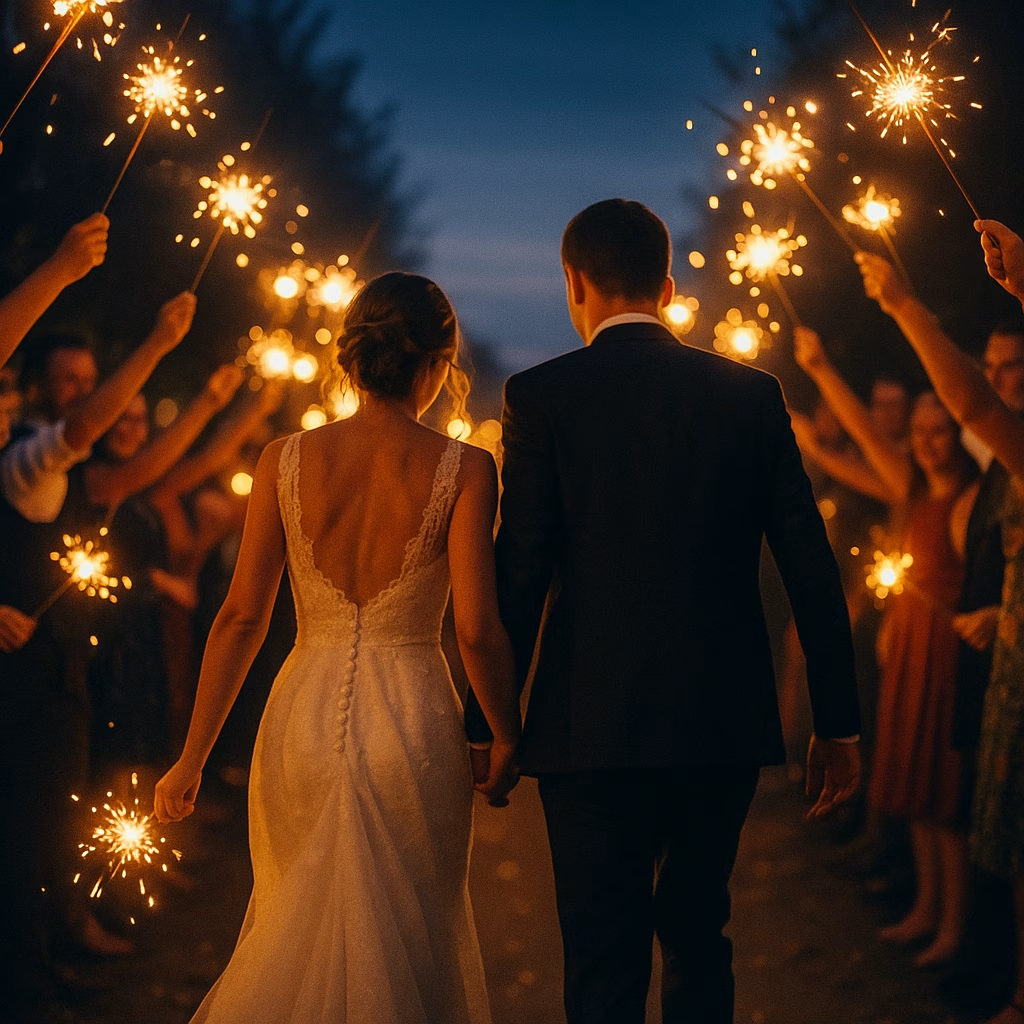
Few moments feel more cinematic than dashing through a tunnel of glittering sparks as your friends cheer you into married life. Wedding sparkler exit photos deliver instant “wow,” but only when the right prep, gear, and timing come together. Below is my road-tested checklist for sparkler magic that works at any venue—no singed hair or blurry faces required.
1. Choose the Right Sparklers
- Go long. Pick 36-inch, steel-wire sparklers; they burn for 3–4 minutes, giving plenty of shoot time.
- Stay smokeless. Wood-core sparklers create clouds that fog lenses—steel stays clear for crisp images.
- Order extras. Plan one sparkler per guest plus 10% in case a few fizzle out early.
2. Confirm Venue Rules Early
Some ballrooms forbid open flames; others require a permit or designated outdoor zone. Lock this in during walkthroughs so you can plan a safe, legal send-off—and avoid last-minute disappointment.
3. Set Up the Human Tunnel
- Line ‘em up. Two rows, shoulders angled inward.
- Keep it high. Arms up at forehead level keeps sparks above faces (and hair spray!).
- Assign lighters. Hand long grill lighters to two “sparkler marshals” on each row; they move down the line igniting wicks quickly.
4. Time It Just Right
Aim for 30–45 minutes after sunset when the sky is dark enough for sparks to pop but not pitch-black. If your schedule is tight, slot the exit just before breaking down reception décor—my Ultimate Wedding Photography Timeline shows exactly where to fit it without cutting cake-cutting short.
5. Dial In Fail-Safe Camera Settings
- Aperture: f/2.0–f/2.8 for creamy bokeh and bright sparks
- Shutter: 1/60–1/125 sec to freeze movement while keeping trails visible
- ISO: 1600–3200 (modern sensors handle it!)
- White balance: 4000 K to balance warm sparks with cooler ambient light
Add a low-power off-camera flash behind or 45° to the couple—just enough to kiss them with rim light and keep faces tack-sharp.
6. Give the Couple Simple Prompts
- Walk slow. A leisurely stroll lets sparks burn and cameras focus.
- Pause & kiss. Halfway down the tunnel, stop for a dip or forehead-touch.
- Celebrate! Cheer, fist-pump, twirl that dress—movement makes sparks swirl like confetti.
7. Safety First, Romance Second
- Provide metal buckets of water or sand at tunnel ends for quick disposal.
- Announce “tip up!” so guests hold sparklers vertical once extinguished.
- Keep a small fire extinguisher nearby—just in case (and for venue peace of mind).
8. Capture Variations in Seconds
- Wide establishing shot—couple entering the tunnel.
- Mid-length kiss—flash pops, sparks halo their faces.
- Final lift or dip at tunnel exit with guests cheering in the background.
Three angles = a full story delivered in under two minutes of shooting.
Ready to Light Up Your Night?
Peek at real sparkler send-offs in the Weddings portfolio, then contact me with your date. I’ll build a custom sparkler-safe timeline, coordinate with your planner, and make sure your grand exit photos shine as bright as the day feels.


